My goal for this week is to drill holes, weld on the ends of the tank, the flanges, and the extension tube.I was somewhat optimistic. This week I managed to cut two (out of three) holes in the square steel tubing. This may seem like a small achievement, but I'm quite proud of myself. Let me explain why.
When I wrote my goals, I was imagining a drill press with the right sized bit, quickly cutting the right sized holes. Turns out it's not quite that simple. Well, it could be that simple, but it wasn't for me. The devil, of course, is in the details. If I had the right sized bit, all I'd need to do is turn it with sufficient force and speed and the job is pretty much done!
Well, for holes two inches in diameter, that takes a pretty big motor. A motor that I didn't have. So I was going to have to bore out the hole. I didn't even know what boring out a hole was. Well, first thing you do is clamp the tubing to the mill table. Like so:

It's pretty nifty the kind of clamping you can do. There's a lot more complexity that I had expected. My first go, I didn't do a very good job and on the second cut, this end broke loose. I added the second clamp and thought I was done with clamping. I cut in initial hole with a spiral bit. It made a beautiful curlycue of waste.
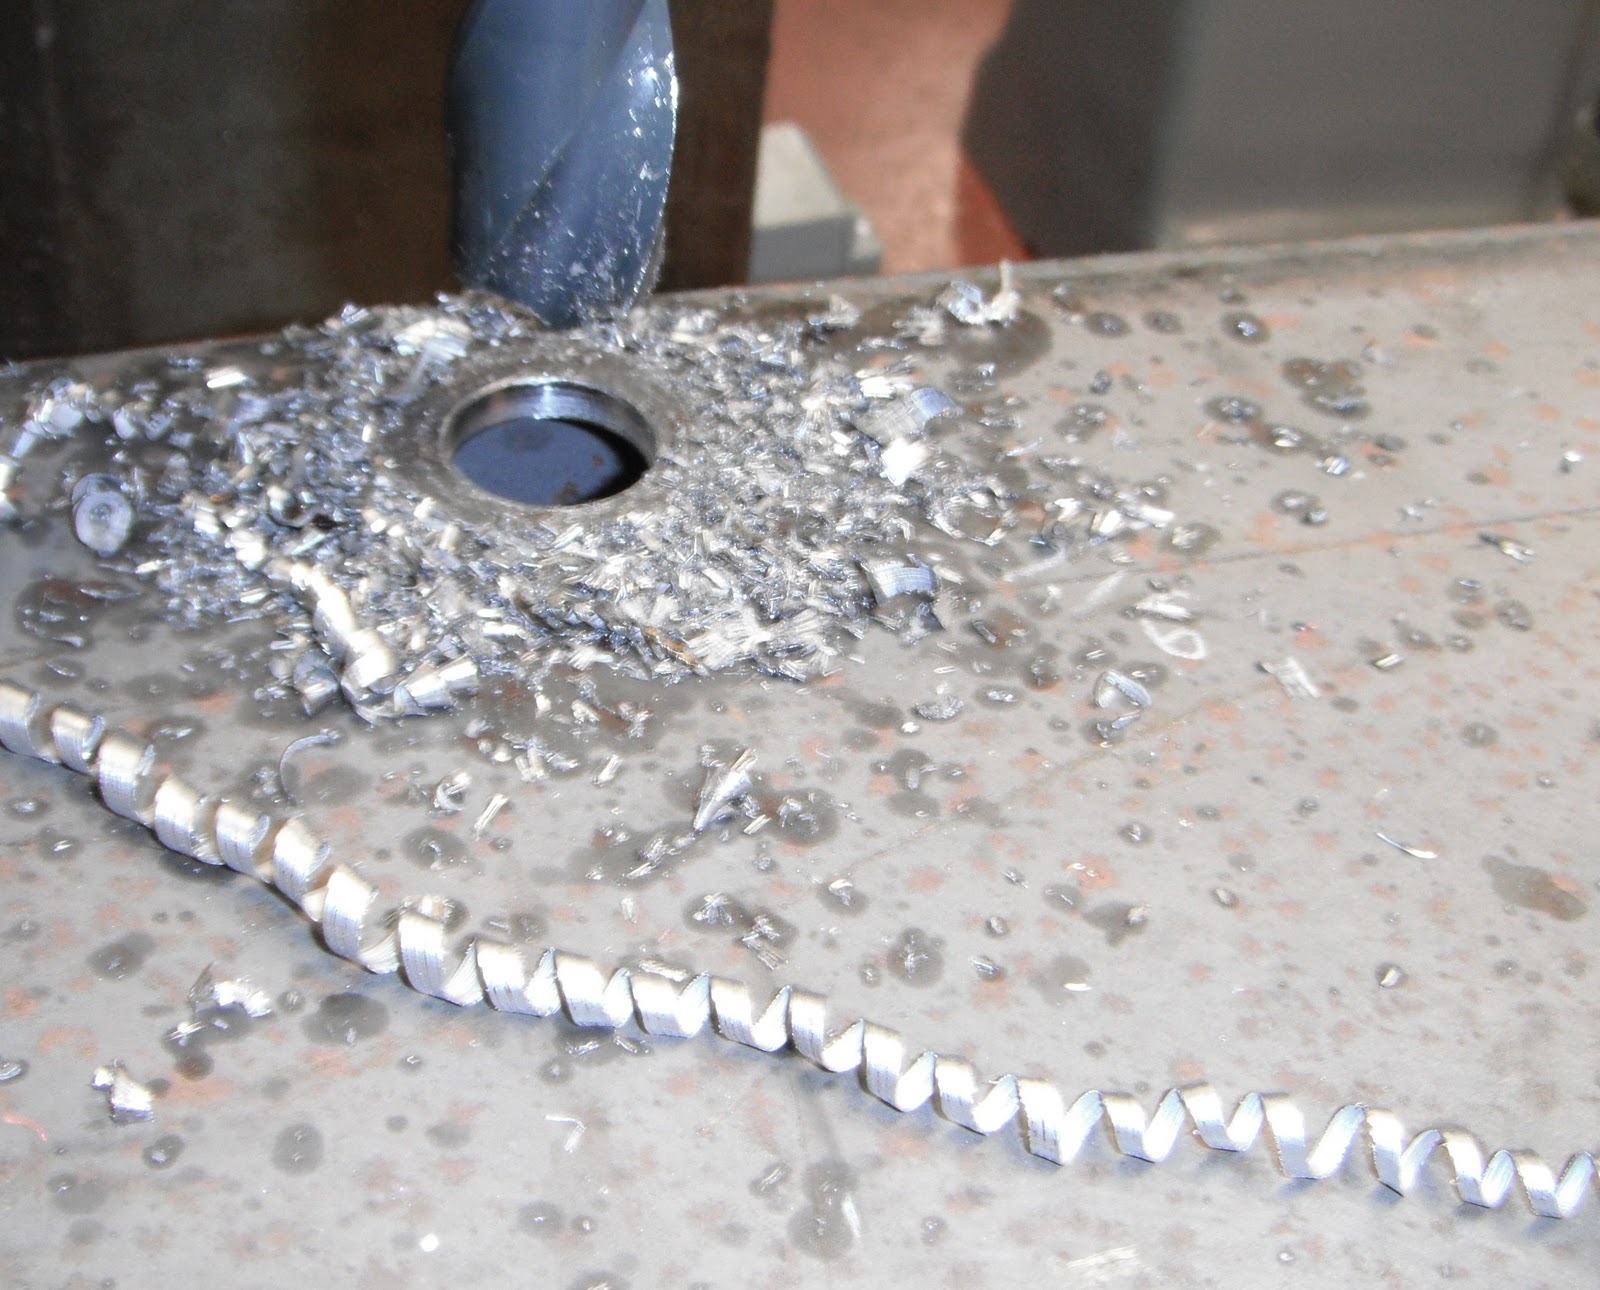
That hole is an inch around. I needed to expand it to 1 and 7/16 inches in diameter. This is where boring comes in. It's a pretty cool process (though slow and-- you guessed it, boring). The bit has a single tooth and is held on an armature with an adjustable length.
 |
| Cutting tooth is sticking out the bottom, arm adjusts left and right |
Each cut can expand the hole about 0.05 inches. So my expansion required about 8 passes... pretty slow. I learned how to use the auto feed on the quill of the mill (the part that moves up and down) which helped, but didn't make things faster. While making my cuts, I noticed some vibration in the tube, but nothing unacceptable.
The next hole was to be 2 and 3/8 inches in diameter. Much bigger. That's about 28 boring passes. As the hole got bigger, the cuts started to chatter and the surface being cut went from smooth to rippled. My instructor Mr. Lyons decided to help. He said simply "you got to hold it still". And we added a brace that clamped the top surface of the tube.

The problem was that the tube was so tall, the cutter was torquing the hole surface back and forth. Steel is pretty springy. There is a jack inside the tube pressing up, and a clamp above it pulling down. It was just amazing how much of a difference this made. Every cut thereafter was clean, and smooth. I could even make the cuts a little wider (.08 inches or so) which made the process faster.
The flanges sit securely in the holes as you can see:

Note that the large flange will stand a few inches off the surface of the tube to allow the strainer to fit.
My current open questions:
- How do I clean the inside of the cube? This will keep gunk out of the hydraulic fluid.
- Do I need to paint/finish the inside of the cube? I want to protect against rust.
- How will I attach the compressed air to the tank for my leak test?
Woooo, Mr. Lyons must be a cool guy.
ReplyDeleteUmmmm... That was me, a "Mr. Lyons" (John)
ReplyDeleteI've only ever known cool Mr. Lyons's.
ReplyDeleteGreat narrative. The pictures are very complementary to your descriptions. Like everything else, clamping is easy to understand and implement for basic operations, which covers 99% of consumer work, but it becomes a science in and of itself once you start doing something that has to pass muster to a professional (metal worker, engineer, wife, etc.).
ReplyDelete